

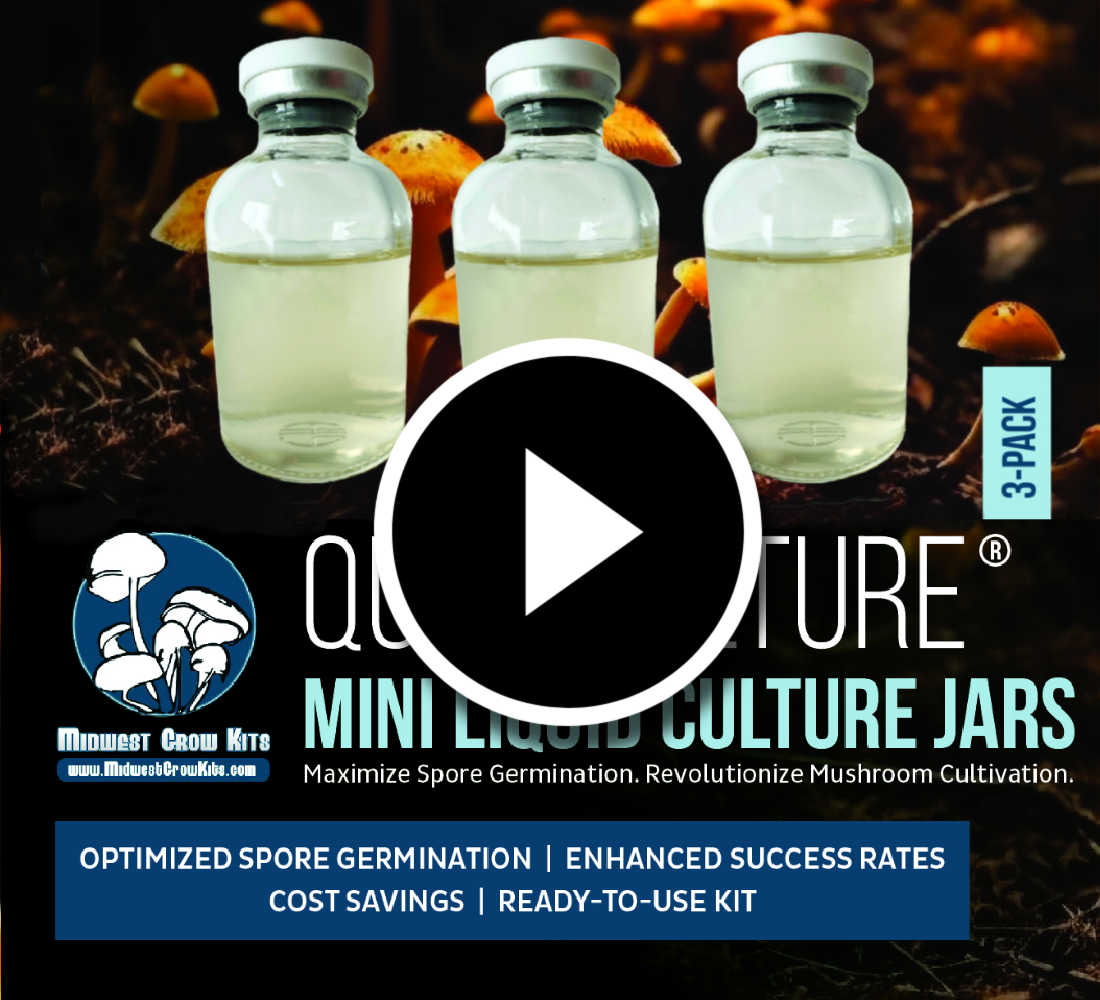
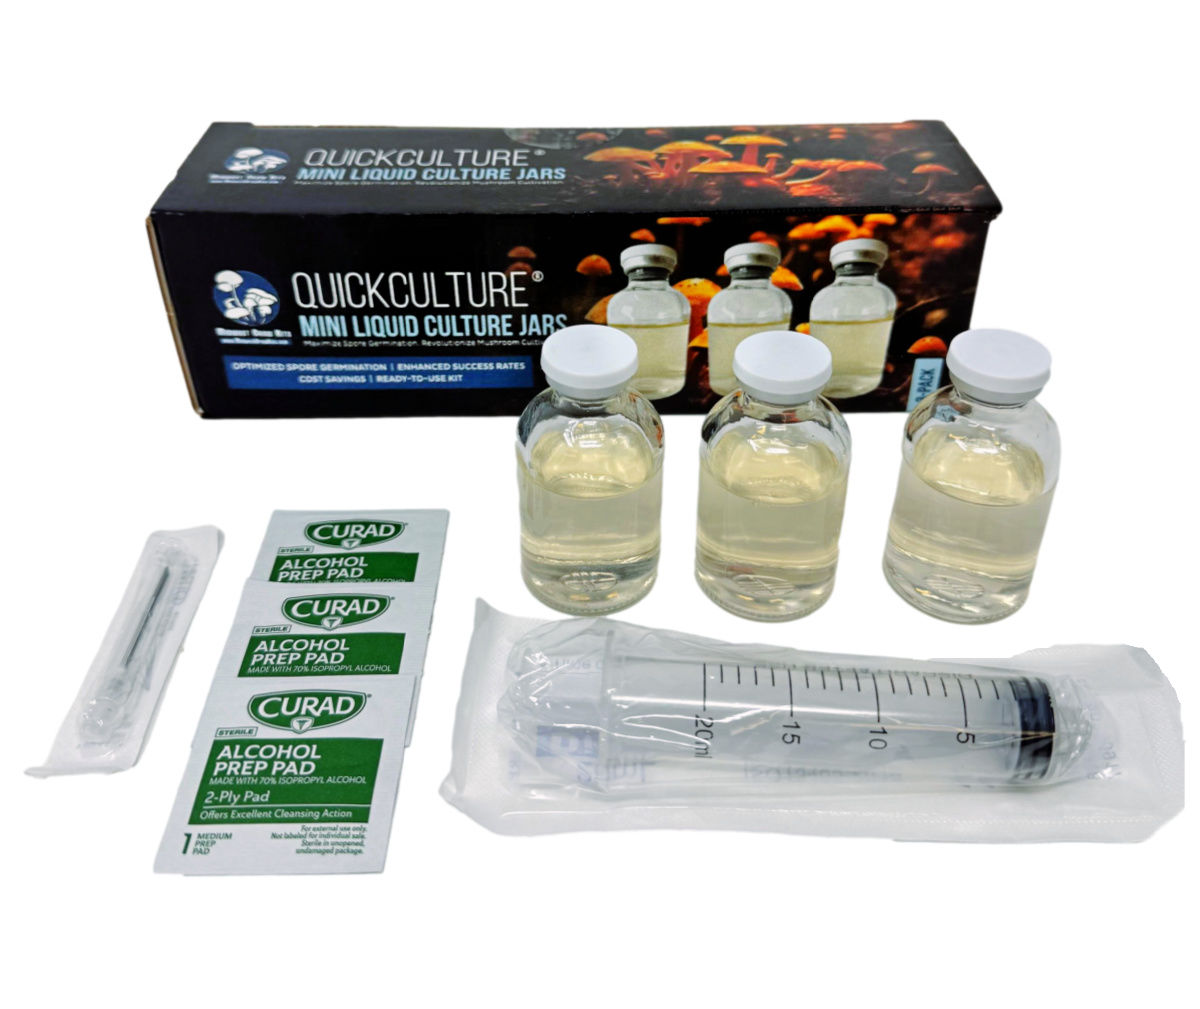
QuickCulture Mini Spore Germinating Liquid Culture Jars (3-Pack)
QuickCulture Mini Spore Germinating Liquid Culture Jars (3-Pack) is backordered and will ship as soon as it is back in stock.
Couldn't load pickup availability

Description
Description
Germinate your spores in a sterile 30 ml jar first, then inoculate grain with living mycelium instead of spores. QuickCulture® Mini Jars isolate the slowest, riskiest step of the grow so you can see exactly what you started with — clean growth or a problem — before it ever reaches a bag of grain.

Three pre-filled, sterilized 30 ml medical vial jars with self-healing ports, plus a syringe, two needles and alcohol pads. Inject 2–3 cc, wait 5–10 days, and inoculate grain with mycelium that's already running.
- 3 jarsPer kit
- 30 mlEach jar
- 2–3 ccSpores per jar
- 5–10 daysTo colonize
- ~10 qtGrain per jar
Why growers start in a QuickCulture jar

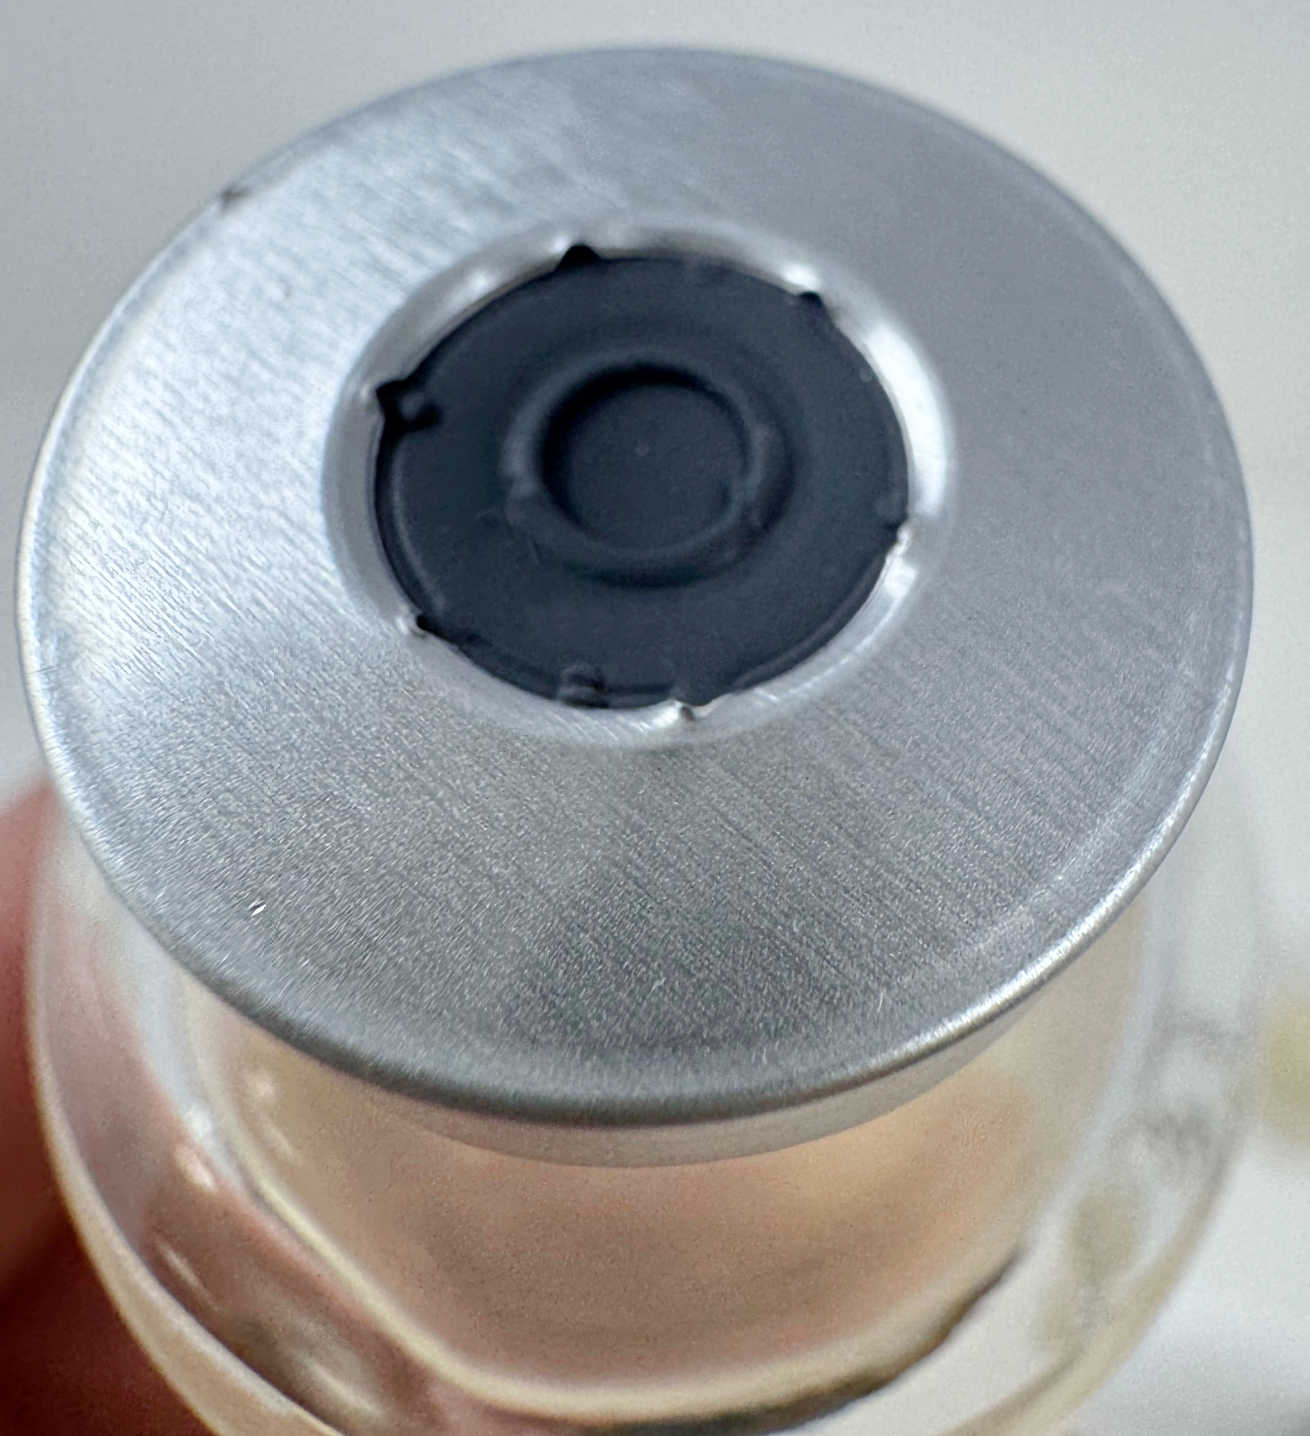
The same self-healing septum used on pharmaceutical vials. The rubber closes behind the needle every time, so the lid never comes off and there's no filter disc to wet out or tape over.

Each jar takes only 2–3 cc, so a single spore syringe covers all three with room to spare. Each finished jar then inoculates far more grain than that syringe could on its own.

Clean white growth or a problem shows up in a few-dollar jar, not a case of spawn bags. If a jar turns cloudy or off-color, you've lost one jar instead of a whole tub.
How to run a QuickCulture jar
Everything arrives sterile and ready. There's nothing to mix, measure or pressure cook.
 1Flip off the cap
Pop off the plastic cap to expose the rubber port. Wipe it with an included alcohol pad and let it dry.
 2Inject 2–3 cc
Inject spore solution or liquid culture straight through the port. Not sure how many syringes you need? Use our syringe calculator.
 3Incubate and swirl
Keep it at room temperature, out of direct light, and swirl gently every day or two.
 4Draw and inoculate
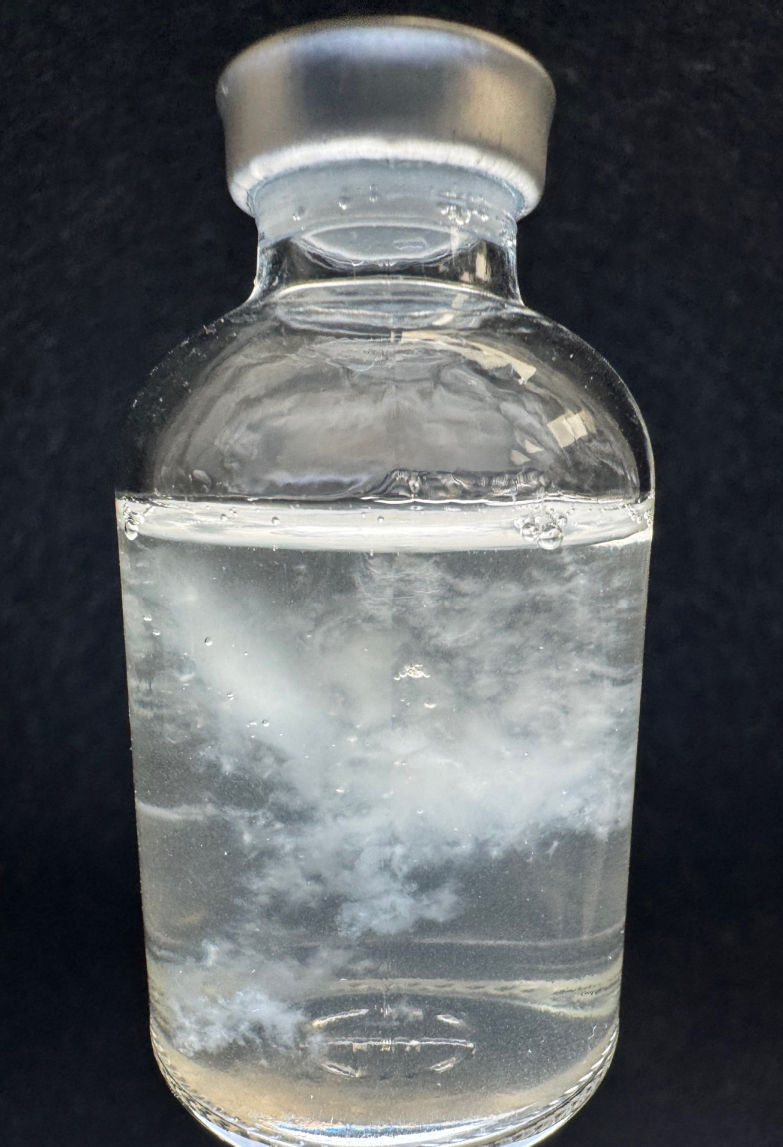
Once healthy white mycelium is floating in the broth, draw 2–3 cc per quart and inoculate your grain. Hard to draw? Add the optional vent needle first.
Tip: run all three jars at once from a single spore syringe. If one shows cloudiness, sediment or off-color growth, you've caught a contamination problem for the price of one jar instead of a whole tub.
Living mycelium, not a guess
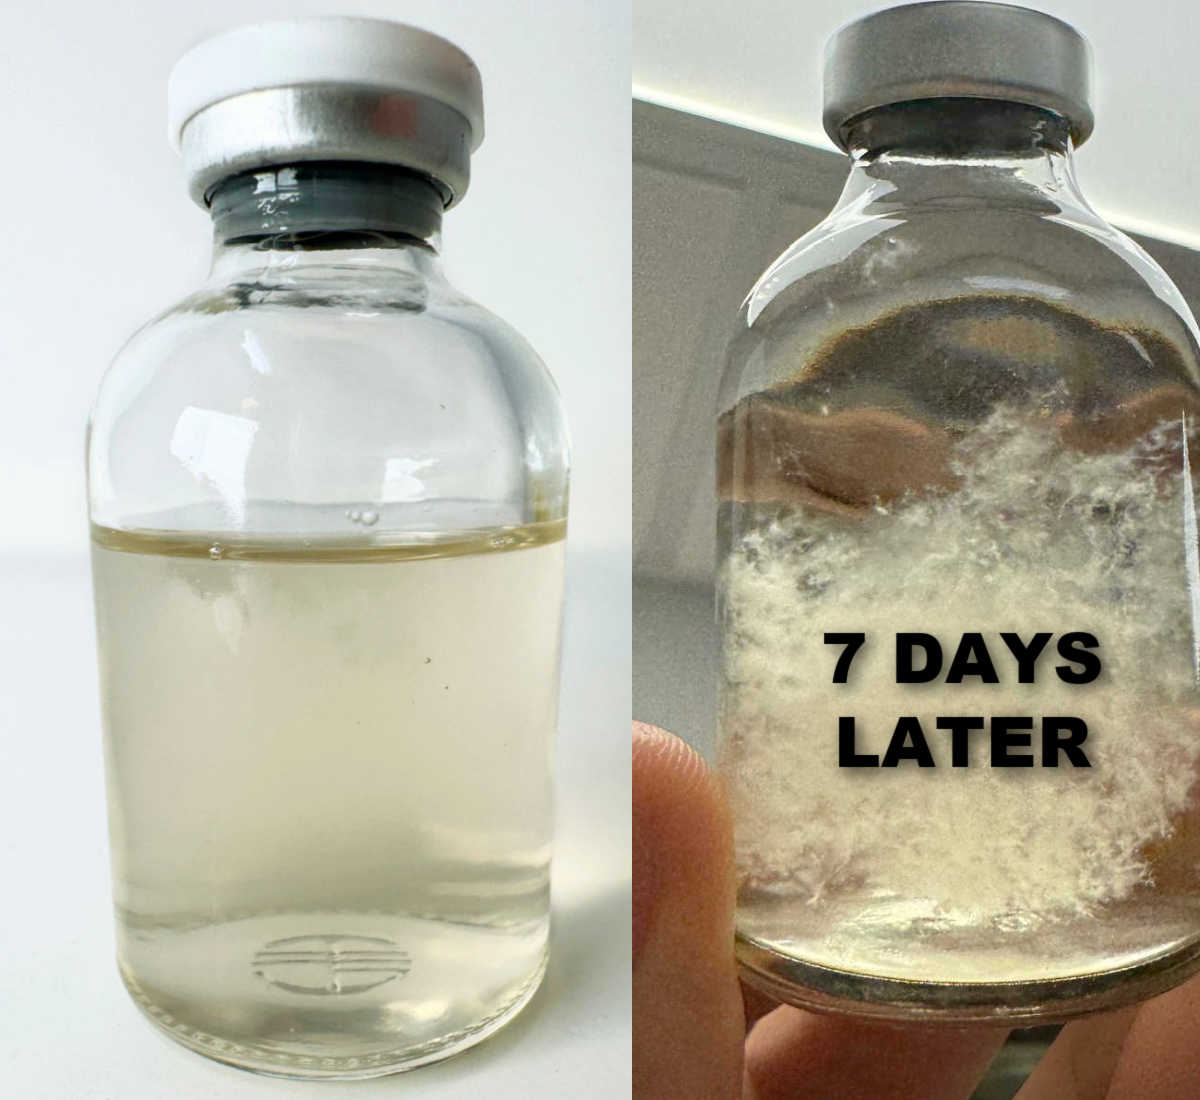
 Healthy mycelium suspended in the broth
Injecting spores straight into grain means waiting a week or more to find out whether they were viable, and if they weren't, the grain is lost too. A QuickCulture jar gives spores an easy, nutrient-rich place to germinate. Once the jar fills with mycelium, you're inoculating grain with an organism that's already running, so colonization starts faster and you know what you're working with.
- One jar ≈ ten quarts of grain
- Draw again and again, lid stays on
- Pre-filled and sterilized
Spores straight to grain: a week or more of waiting, and the grain is the price of a dud syringe.
Spores to a QuickCulture jar first: you find out in days, for the price of a jar.
What's included
- 3 × 30 ml sterilized liquid culture jars
- 1 × 20 cc sterile syringe
- 1 × 16G 1.5" sterile needle for drawing culture
- 1 × 25G ¾" sterile vent needle (optional, equalizes pressure if the culture is hard to draw)
- Sterile alcohol prep pads
Specifications
| Spec | Detail |
|---|---|
| Jars per kit | 3 |
| Volume | 30 ml per jar |
| Jar type | Medical vial jar |
| Lid | Self-healing injection port under a flip-off cap — reseals behind the needle, no filter disc needed |
| Inoculation rate | 2–3 cc of spore solution or liquid culture per jar |
| Typical colonization | 5–10 days at normal room temperature |
| Also included | 20 cc sterile syringe, 16G 1.5" needle, 25G ¾" vent needle (optional), alcohol prep pads |
| Brand | Myco Labs |
| SKU | LC3 |
Build out the liquid culture workflow
 QuickCulture JarsThis product
 5-Grain Jars3 × 24 oz
 5-Grain Spawn BagsSterile grain bags
 LC Premix Formula 15250 g, makes 3+ gal
| QuickCulture | 5-Grain Jars | Spawn Bags | LC Premix | |
|---|---|---|---|---|
| Use it for | Germinating spores | Small-batch grain spawn | Bulk grain spawn | Making your own LC |
| Quantity | 3 × 30 ml jars | 3 × 24 oz jars | 2 bags, ~2 qt each | 250 g pouch |
| Step | First, before grain | After the jar colonizes | After the jar colonizes | Scaling up |
| Pairs with | Any spore or LC syringe | One QuickCulture jar | One QuickCulture jar | Your own jars |
Pairs well withGourmet strains from our liquid culture syringes, or spores from Spore Genetics. Ready for grain? Browse all grain spawn.
FAQ
How much spore solution do I put in each jar?
Use 2 to 3 cc per 30 ml jar. More than that does not speed things up and only uses up your syringe faster.
The plastic cap came off in shipping. Is the jar still good?
Usually, yes. The plastic flip cap is only a dust cover. The sterile seal is the rubber septum held down by the crimped aluminum ring underneath it. If that ring and the rubber are intact, wipe the septum with alcohol and use the jar as normal. If the aluminum seal itself is loose or the rubber is missing, don't use that jar and contact us.
Why is the liquid amber instead of crystal clear?
The broth is a nutrient blend of malt and sugars, and it picks up a light amber tint when it's sterilized. That's normal. What matters before inoculation is that it's see-through, not cloudy or hazy.
Can I inject the same jar more than once?
Yes. The lids use the same self-healing septum found on medical vials, so the rubber reseals behind the needle each time. Wipe the port with alcohol before every entry and the jar stays sealed for the life of the culture.
Why can't I draw culture out of the jar?
Pulling liquid out of a sealed jar can create a vacuum that fights the syringe. The vent needle is optional and only needed if that happens. Wipe the port with alcohol, push the small 25G vent needle through the septum so air can get in, then draw with the 16G needle. Pull the vent needle out when you're done and the septum reseals. Do this in a clean, still area, since the vent lets room air into the jar.
How long does a QuickCulture jar take to colonize?
Most jars are ready in 5 to 10 days at normal room temperature. Slower species, older spore syringes and cooler rooms all push that longer, so judge by the growth in the jar rather than by the calendar.
Can I use a liquid culture syringe instead of spores?
Yes. Injecting 2 to 3 cc from a liquid culture syringe works the same way and colonizes faster than spores, since the mycelium is already established.
How much grain will one jar inoculate?
At 2 to 3 cc per quart, a fully colonized 30 ml jar carries enough culture for roughly ten quart-size grain jars or bags. Draw only what you need and keep the rest sealed.
Do I need a stir plate?
No. The jars colonize on their own with an occasional gentle swirl. A stir plate simply breaks the mycelium into an even suspension, which speeds things up and makes the culture easier to draw.
Do the jars arrive sterile and ready to use?
Yes. Each jar is pre-filled and sterilized, so nothing needs to be mixed or pressure cooked. Wipe the port, inject and set it aside.
