If you want to grow your mushrooms, it might be wise to figure out which medium is ideal for your needs. You might ask yourself, “Which is best for growing between spawn bags and substrate jars?” We’ll be the first to tell you that both have many benefits and drawbacks, so neither is better than the other. Below, we’ll discuss what a substrate jar and spawn bag are, the benefits of both, and the rather extensive inoculation process. Read below for more information.
What’s a Substrate Jar?
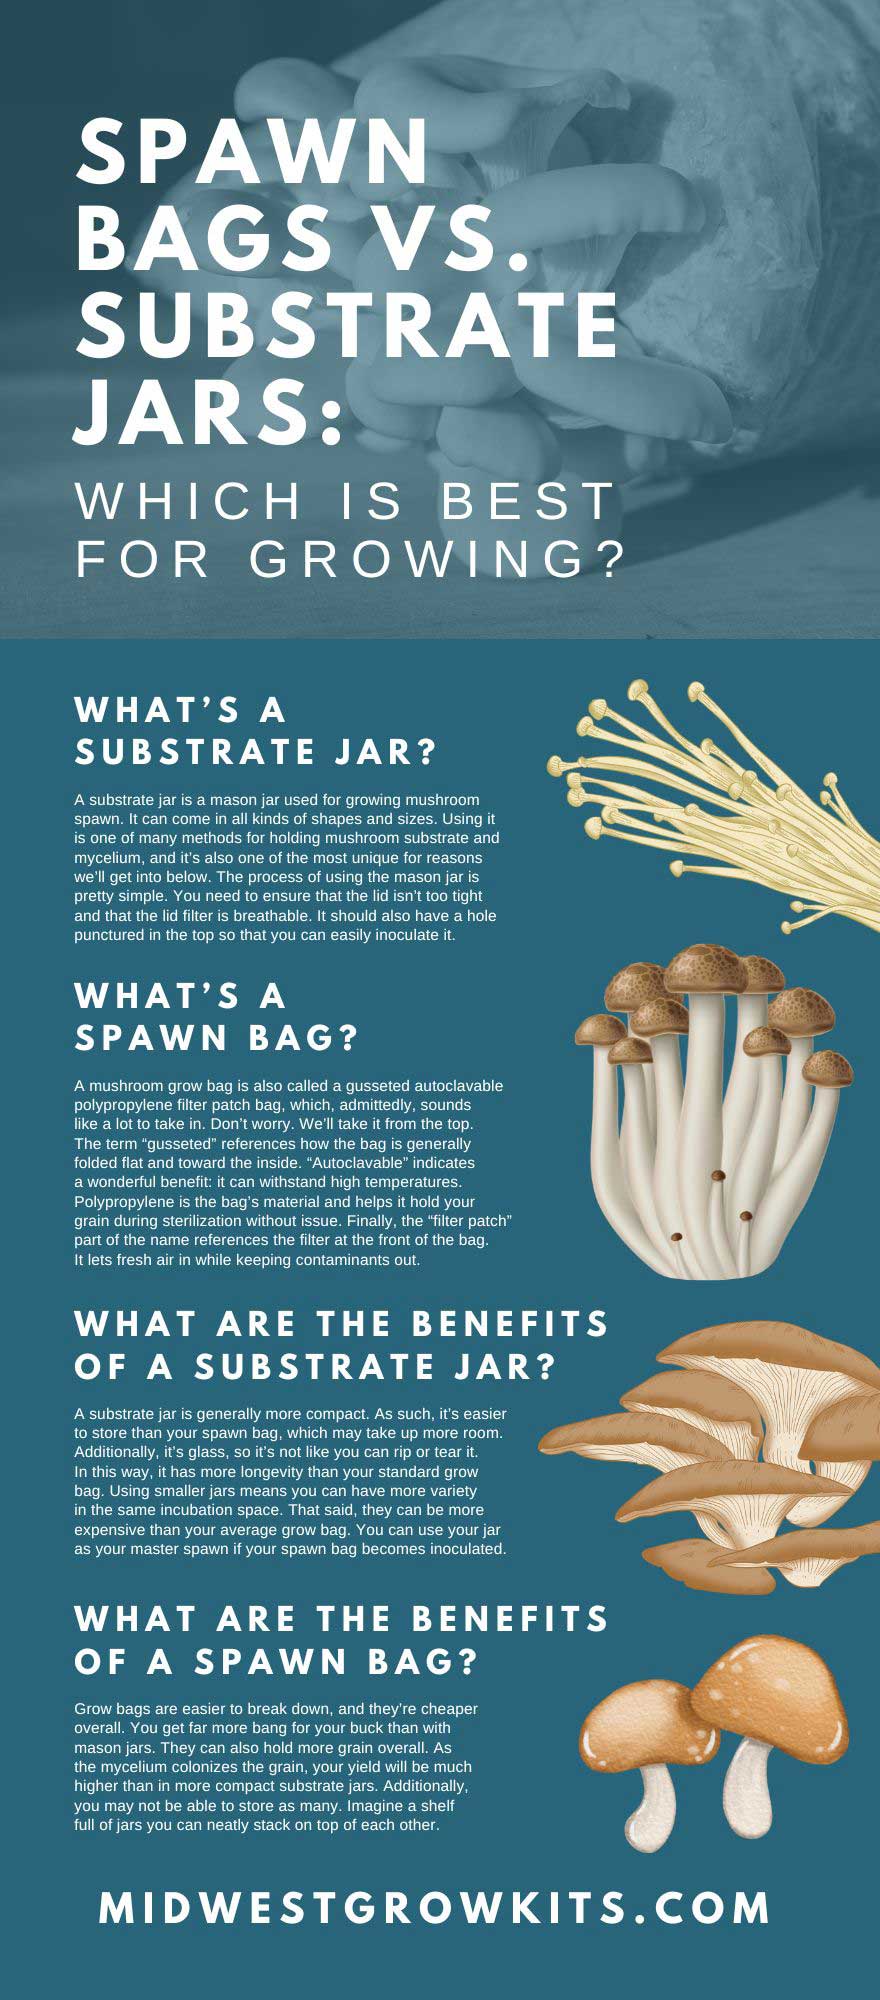
A substrate jar is a mason jar used for growing mushroom spawn. It can come in all kinds of shapes and sizes. Using it is one of many methods for holding mushroom substrate and mycelium, and it’s also one of the most unique for reasons we’ll get into below. The process of using the mason jar is pretty simple. You need to ensure that the lid isn’t too tight and that the lid filter is breathable. It should also have a hole punctured in the top so that you can easily inoculate it.
What’s a Spawn Bag?
You might find yourself buying mushroom grow bags in bulk for good reasons. Mushroom grow bags—spawn bags for short—are among the most popular growing mediums. People love them for many reasons, which we’ll get into below.
A mushroom grow bag is also called a gusseted autoclavable polypropylene filter patch bag, which, admittedly, sounds like a lot to take in. Don’t worry. We’ll take it from the top. The term “gusseted” references how the bag is generally folded flat and toward the inside. “Autoclavable” indicates a wonderful benefit: it can withstand high temperatures. Polypropylene is the bag’s material and helps it hold your grain during sterilization without issue. Finally, the “filter patch” part of the name references the filter at the front of the bag. It lets fresh air in while keeping contaminants out.
What Are the Benefits of a Substrate Jar?
A substrate jar is generally more compact. As such, it’s easier to store than your spawn bag, which may take up more room. Additionally, it’s glass, so it’s not like you can rip or tear it. In this way, it has more longevity than your standard grow bag. Using smaller jars means you can have more variety in the same incubation space. That said, they can be more expensive than your average grow bag. You can use your jar as your master spawn if your spawn bag becomes contaminated.
What Are the Benefits of a Spawn Bag?
Grow bags are easier to break down, and they’re cheaper overall. You get far more bang for your buck than with mason jars. They can also hold more grain overall. As the mycelium colonizes the grain, your yield will be much higher than in more compact substrate jars. Additionally, you may not be able to store as many. Imagine a shelf full of jars you can neatly stack on top of each other.
In contrast to this, mushroom grow bags may take up far more space because the grain settles in the bottom of the bag. This key difference between spawn bags and substrate jars shows that the one that’s ideal for growing depends on your needs.
Rather than choosing one or the other, why not choose both? We recommend you try both, then see what you think.
The Growing Process With a Substrate Jar
The process of growing mushrooms with a jar is relatively simple. Let’s go over it below. First, you’ll want to clean and sterilize everything—even yourself. Mushroom cultivation is a delicate process, making it easy to contaminate your colony.
Because of this, take a shower first before you touch anything. After that, sterilize all your tools, including your scalpel, syringe, and anything else you feel is pertinent. For example, you can take your blade and run a lighter across the length of it. This way, when it’s time to colonize your jar or bag, it’ll be fully ready for it. Rubbing alcohol is also useful here.
Prepare the substrate you’ll be using. Fill the mason jars, but only to the level at the bottom of the ring band. After that, use a top substrate layer—typically dry vermiculite. Put the lids on the jars and screw the bands in place.
After that, you’ll want to sterilize your jars. You can do this by putting them in a pressure cooker or steaming them. If you use a pressure cooker, put the jars on the rack, add a cup of water, and cook them for 45 minutes at 15 psi. With boiling temperatures, you can also steam the jars in a large pot for 60 to 75 minutes.
Next, use your spore syringe. It likely comes with instructions, but as a general rule, you should shake the spore solution. Inject a small amount into the mushroom substrate through the jars through the holes you poked through the lid. Then, you’ll want to move them to a warm, dry space and examine them for growth.
After it grows large enough to harvest, dunk the cake with water before fruiting—this will increase its yield. Remove the jar lid, saturate the cake with water, put the lid back, and refrigerate for a day. After that, wait for harvest! You should start to see results within two weeks. When it’s ready, harvest it and enjoy!
The Growing Process Within a Spawn Bag
Much of the mushroom growth process is the same as with substrate jars. You’ll still need to gather and sterilize your tools and supplies. Make sure you have your substrate ready, then empty it into the bag.
Following that, seal the substrate and clean the outside before introducing the spores. Great bags will always have injection ports you can inject your spores into with a syringe. If your grow bag has such a port, go ahead and inoculate the spores. The port will close on its own, mitigating possible contamination.
Once fully colonized, open it, and introduce it to the fruiting substrate in another bag. The colonized mycelium will break up, at which point you can mix it with the fruiting substrate in the bag of your choice.
If you’re interested in growing your mushrooms and feel ready to take the plunge, we have mushroom-growing kits here at Midwest Grow Kits! Shop with us today, and check out what we have to offer.